
If you haven’t created your Store yet, start by visiting Store Creation. Once your store is ready, follow the steps below to complete the setup.
After clicking Create Your First Store and completing the store setup, the system automatically generates default products and categories. These are designed to make the setup process faster and easier.
To view these products, click Manage products

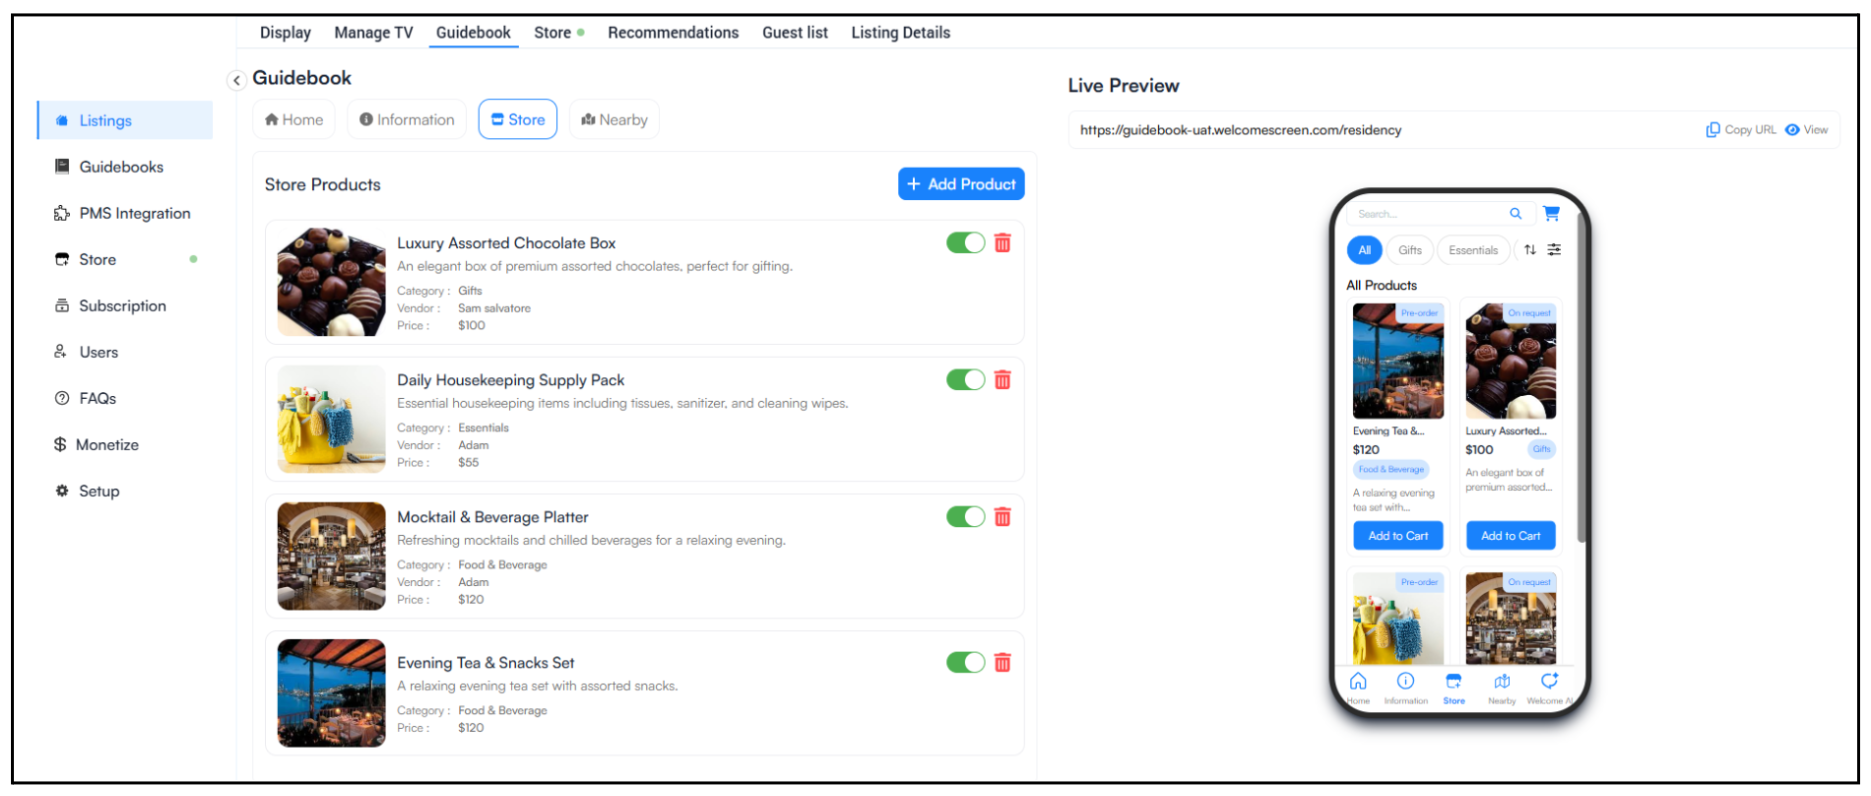
The store editor includes:
The preview updates instantly whenever changes are made.
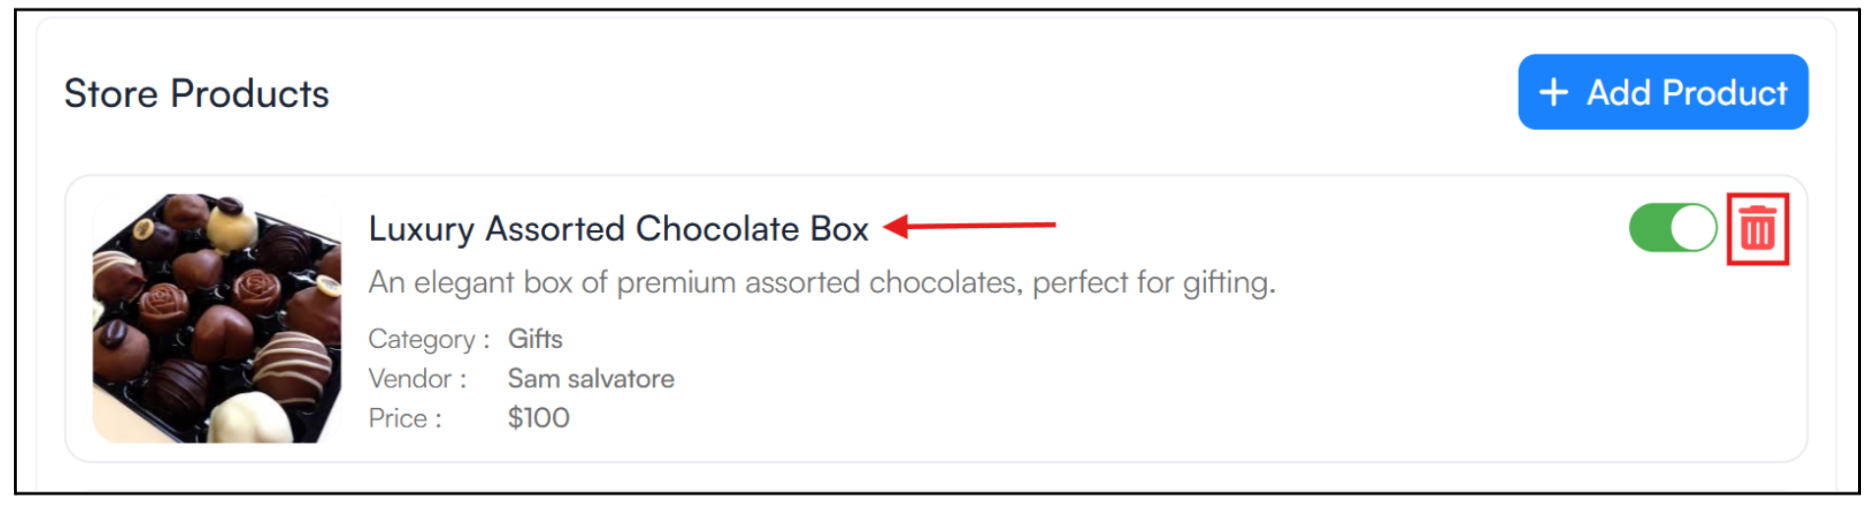
You can modify these default categories by clicking on the category itself or delete using the Bin button.
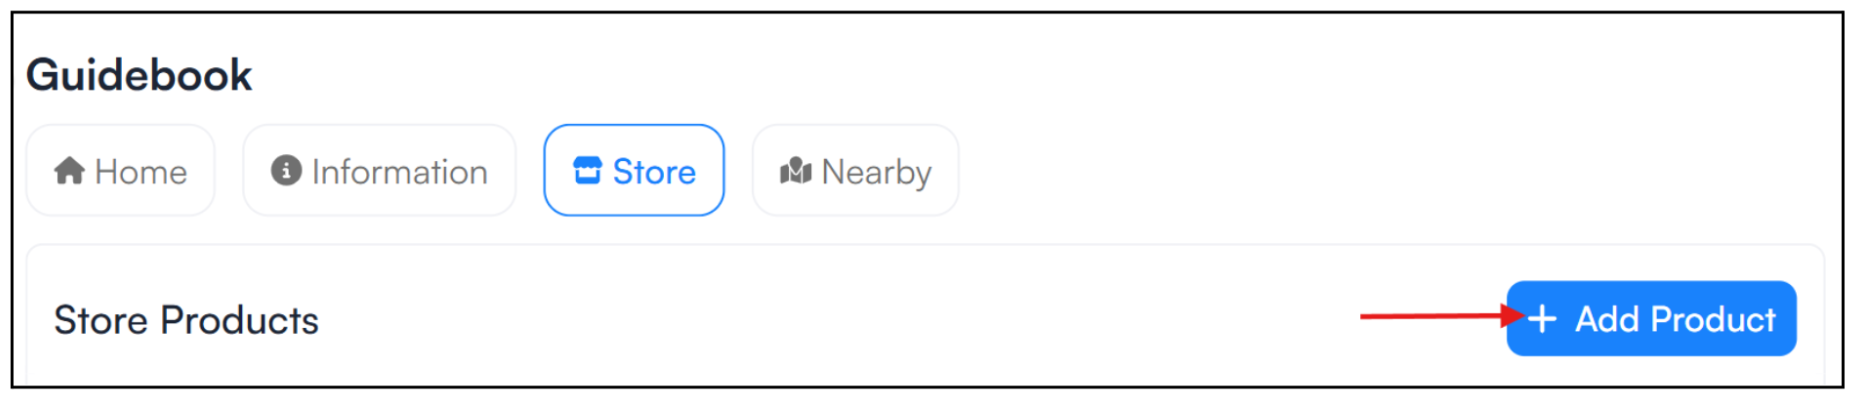
You can add your own products by clicking on the “+ Add Product” button located at the top-right corner of the page.
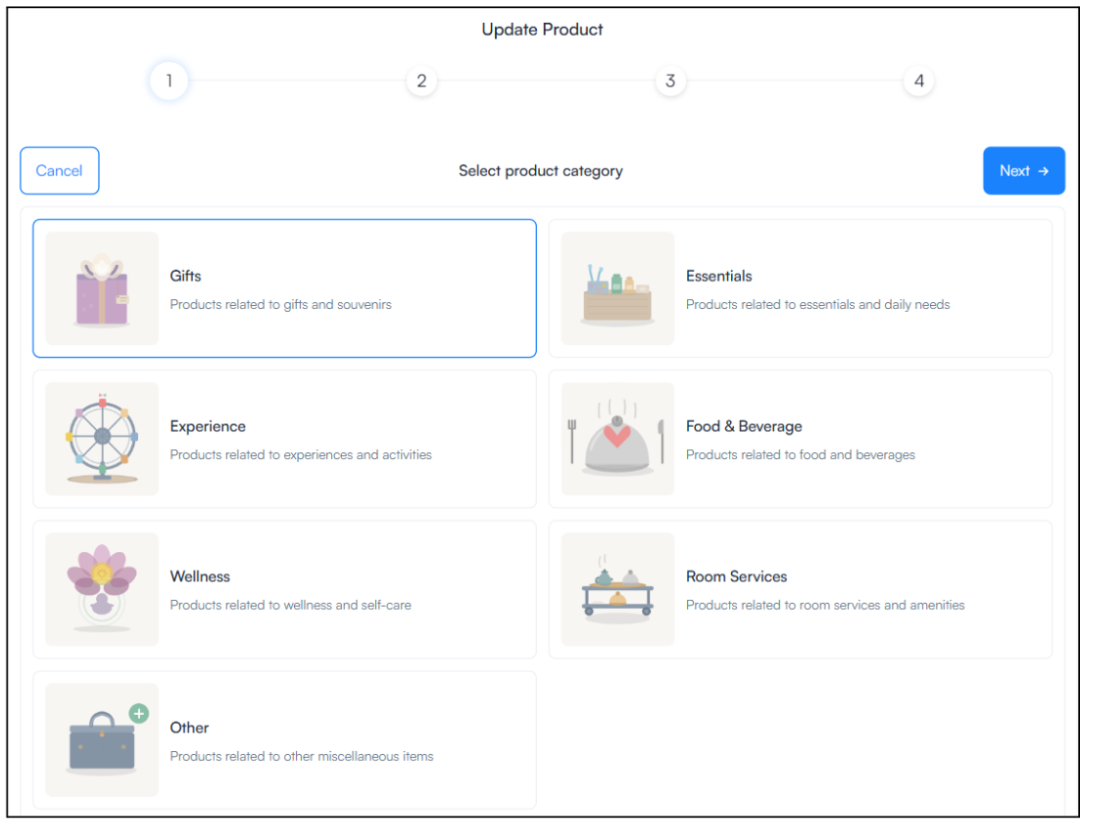
a) Select a Product Category: Start by choosing the category that best fits the product you want to add. Categories help organize the store and make it easier for guests to browse available offerings.
b) Choose or Add a Product: After selecting a category, you can choose from suggested product templates or create your own.
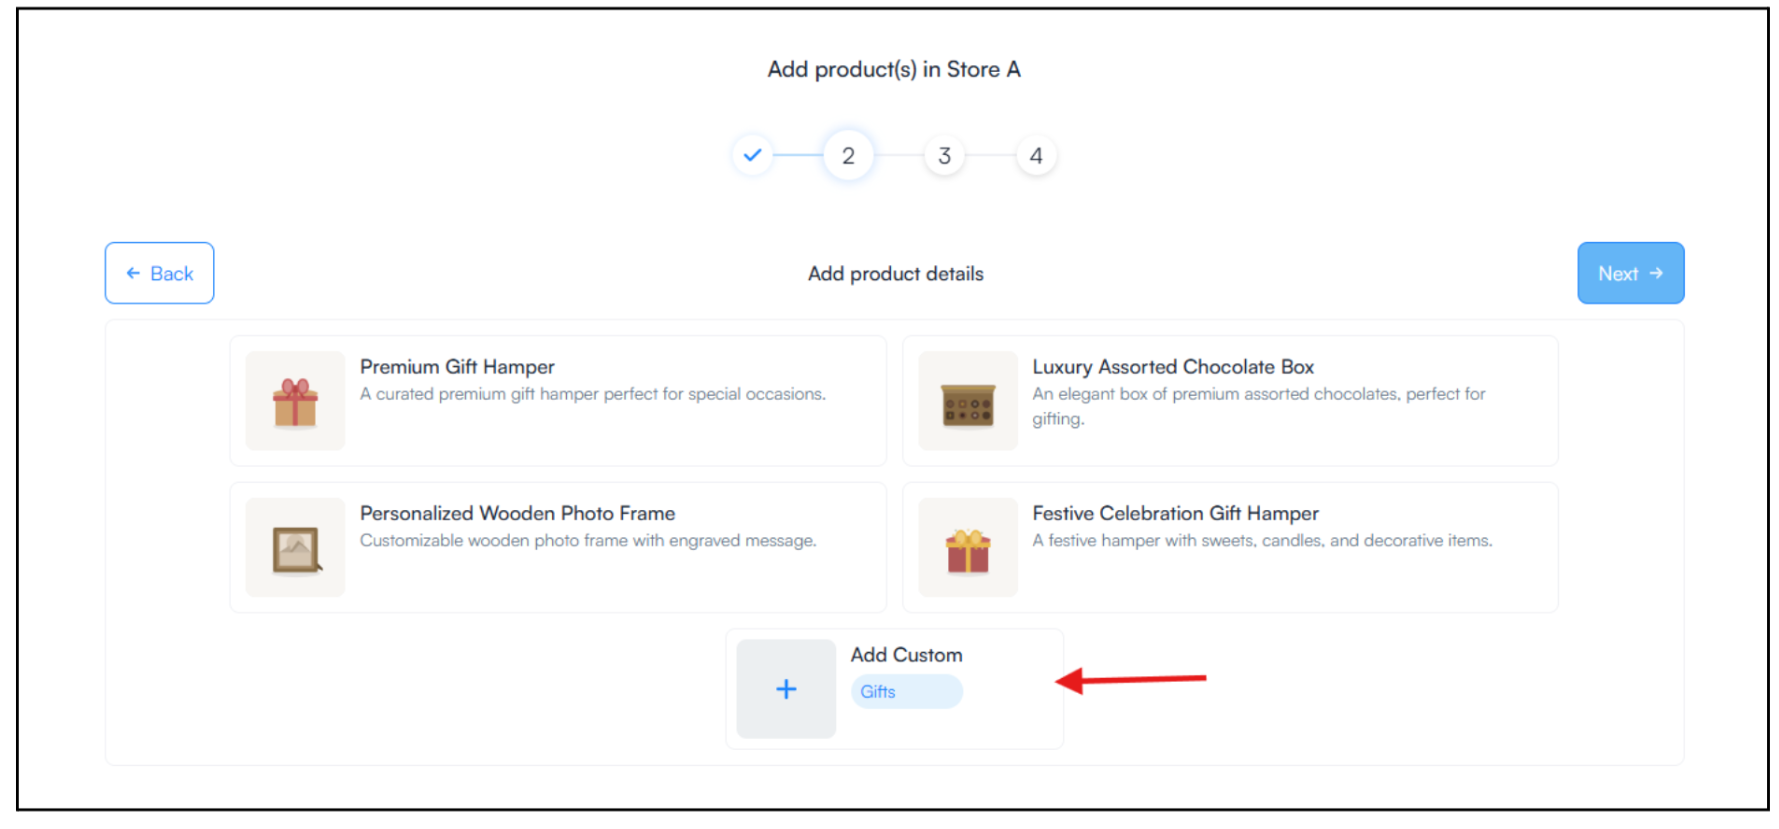
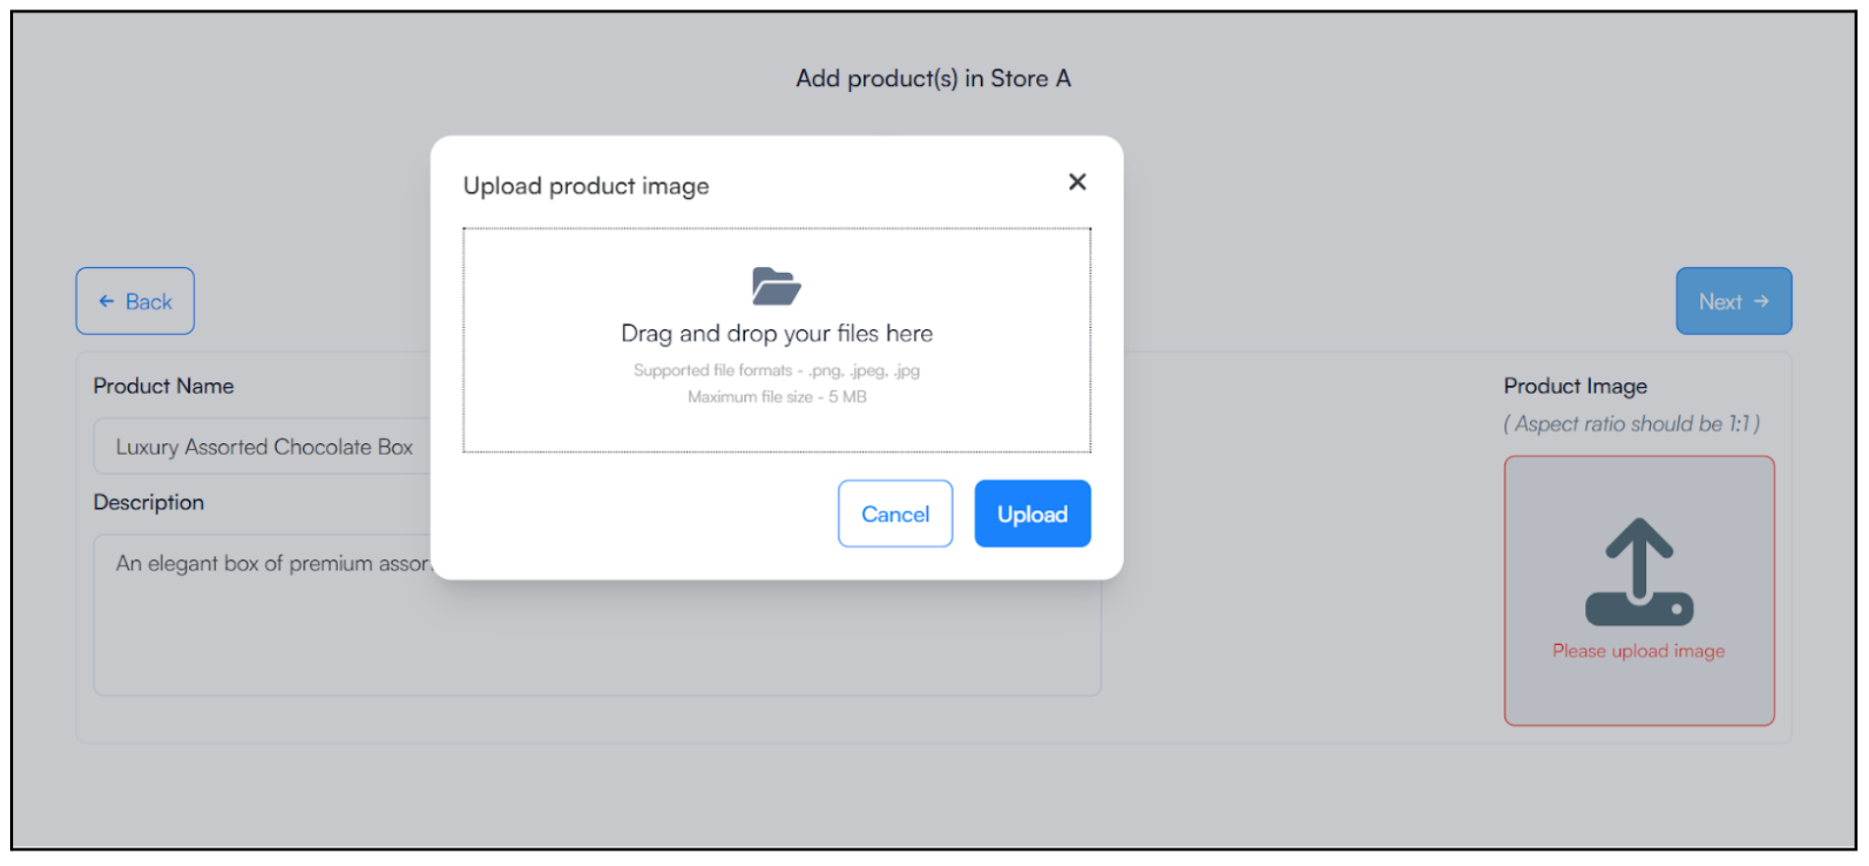
c) Add Product Details: Next, enter the essential information for the product:
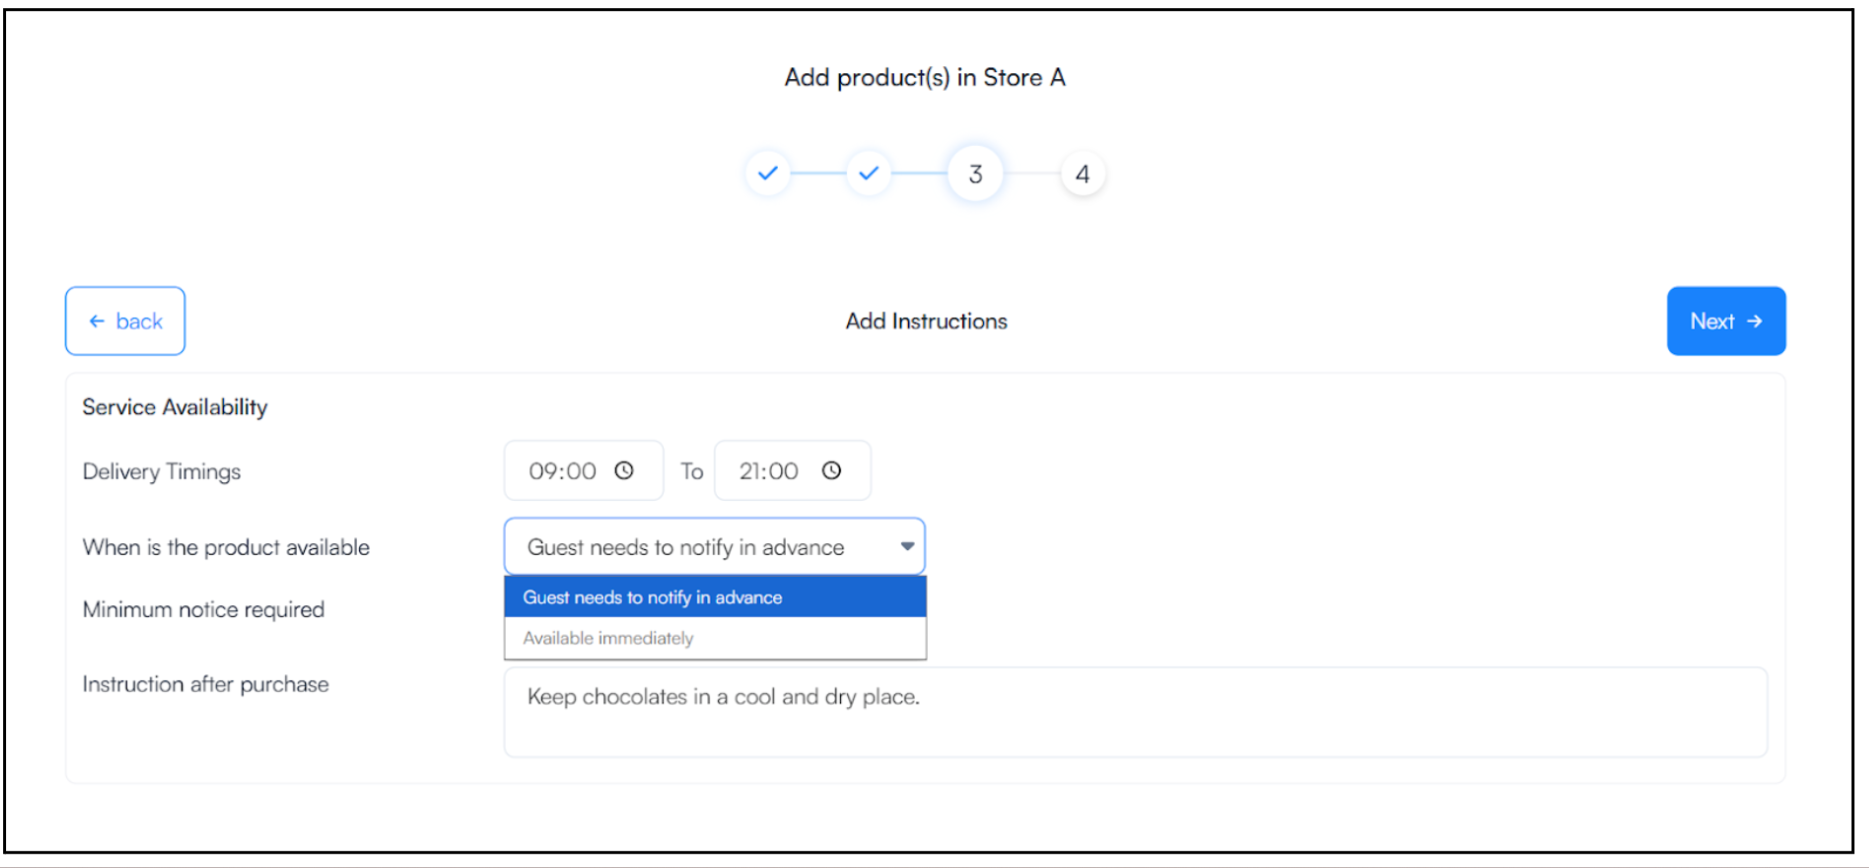
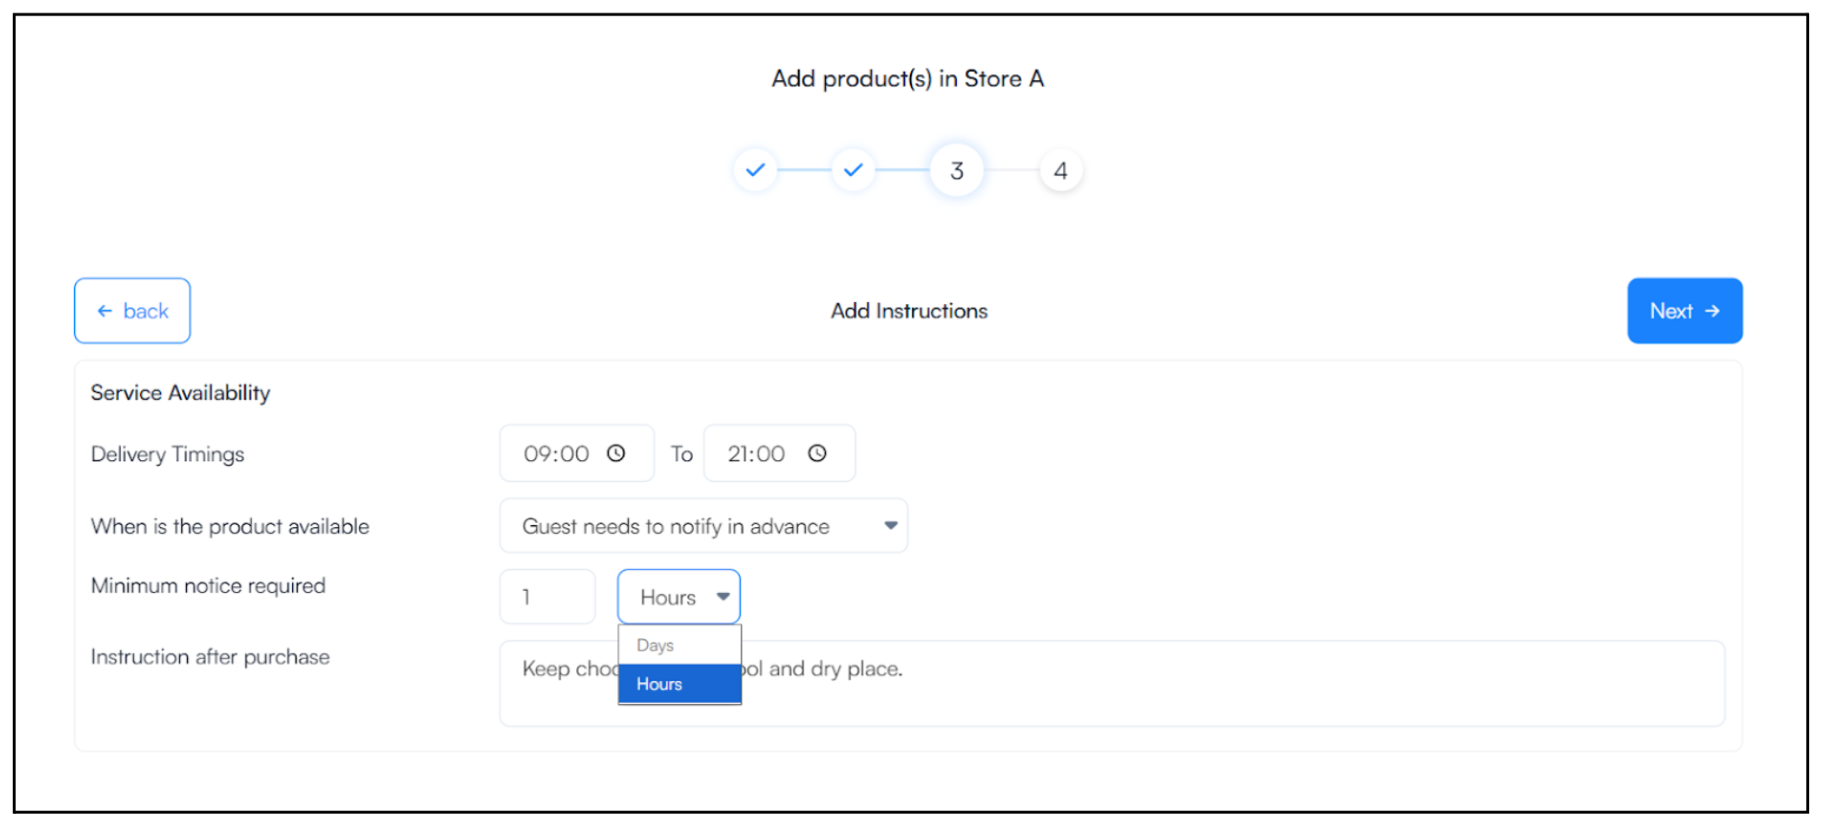
d) Configure Product Instructions
> Define how and when the product will be available to guests:
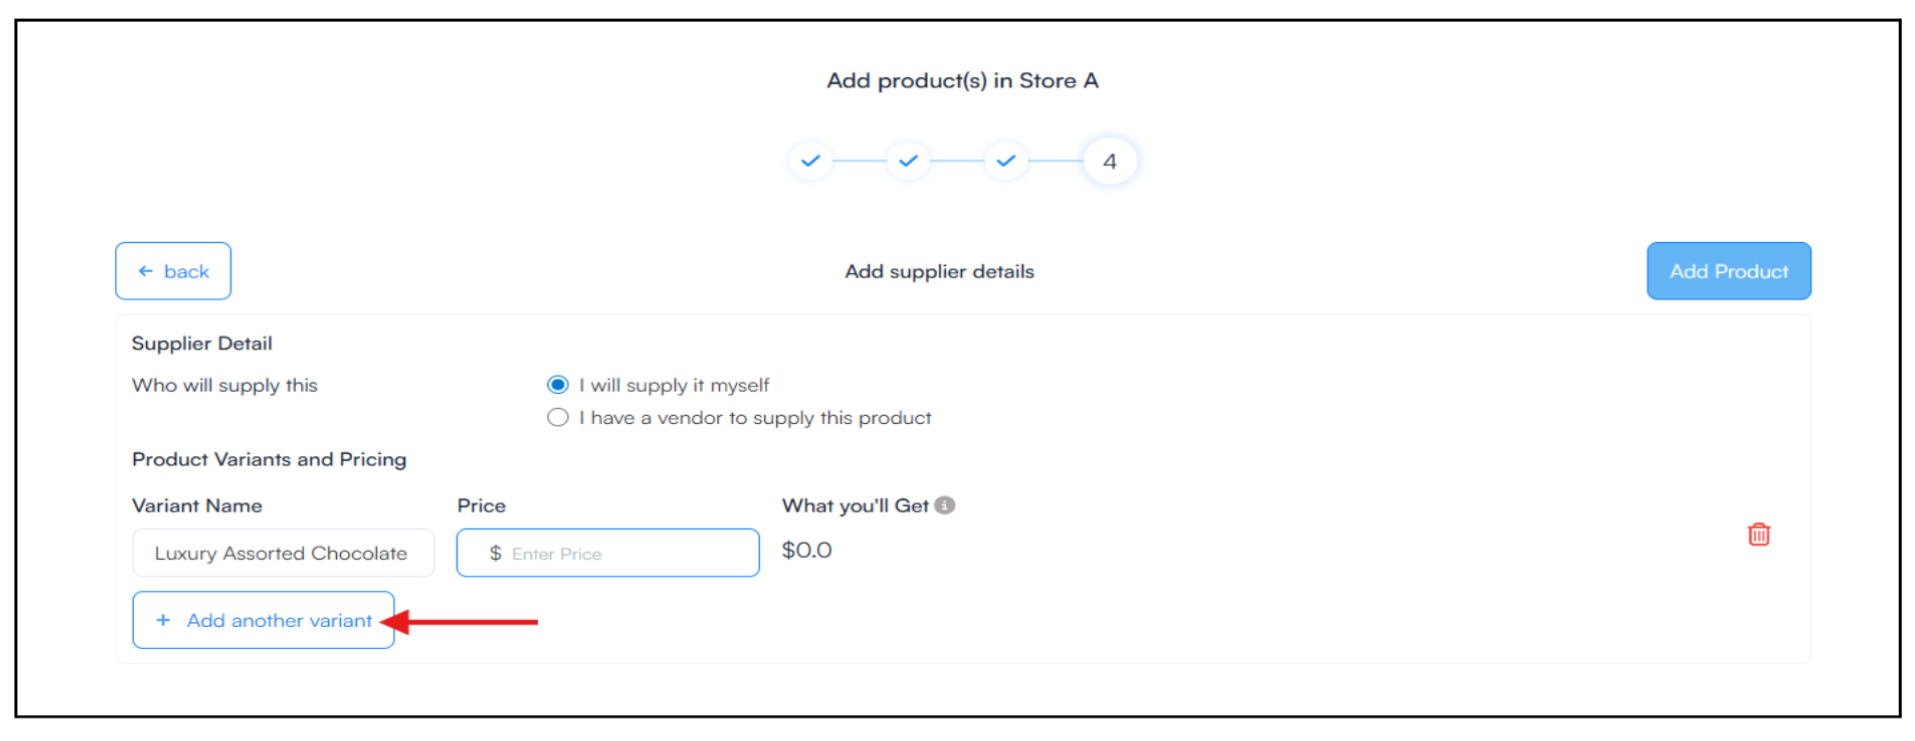
e) Add Supplier details: Next, define how the product will be supplied and priced.
1. Choose Supplier → You have two options:
Learn how to add vendors and manage the products linked to them in your store. See the Store Vendor Guide for step-by-step instructions.
2. Add Product Variant → If your product has multiple versions or options, you can add product variants.
Variant Name (e.g., Luxury Assorted Chocolate)
Learn how to manage orders and set up notifications in our Manage Orders and Notifications Guide after Vendor creation.
For additional assistance or questions, contact the WelcomeScreen support team at: support@welcomscreen.com

.png)
.png)
.png)


