
Imagine turning your guest experience into an opportunity to offer more value and even generate additional revenue. With the new Store feature in WelcomeScreen, You can now easily offer products, services, and experiences directly to their guests during their stay.
With the Store, you can list items such as early check-in, late check-out, equipment rentals, welcome packages, or local experiences. In addition to their own offerings, you can also collaborate with local vendors who can supply products or services directly to the guest’s doorstep. This helps create a more convenient and seamless experience for guests while allowing you to expand the range of services they provide during the stay.
Guests can easily browse available items and place orders, while you can manage and track these requests directly from your dashboard. Setting up the WelcomeScreen Store is simple and can be completed in just a few steps.
Once your listing is created, you can set up a guidebook for the listing. The guidebook serves as a central place where guests can access important information such as:
The WelcomeScreen Store is integrated directly within the guidebook, making it easy for guests to discover and order services while viewing other useful information about the listing.
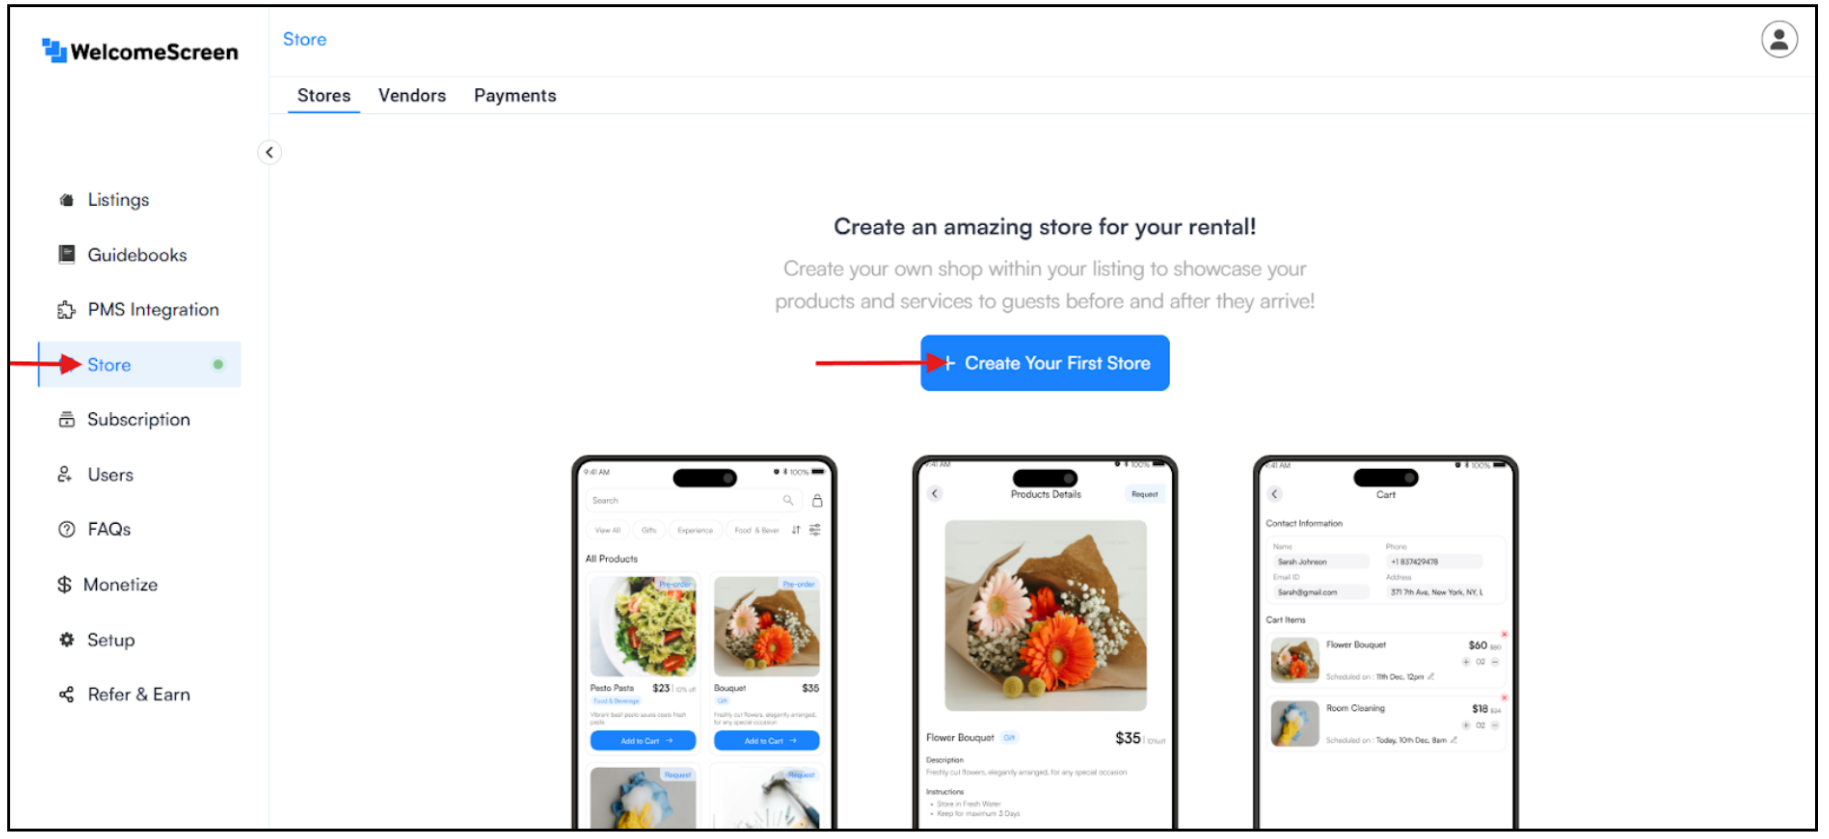
After creating your listing and guidebook, navigate to the Store tab. If you are setting up the store for the first time, you will see the option “Create Your First Store.”
After clicking Create Your First Store, a setup window will appear where you can enter the basic store details. This step allows you to organize the services and products that guests will see in your store.
Add Store Details
Once the details are completed, click Add Store.

Your store will now be created and connected to your selected guidebook. From here, you can start adding products, services, and experiences that guests can browse and order during their stay.
Before your store can begin accepting orders, you must configure your Payment details.
After creating a store, it will appear in the Stores list with an inactive status, meaning guests cannot place orders yet. To activate the store, click the Bank Details & Payout button located at the top right of the Stores page.

In the Bank Details & Payout section, enter the required banking information that will be used to receive payouts from store purchases.
This step ensures that:
Make sure all details are entered accurately to avoid payout issues.
Once the payment information has been added, return to the Stores dashboard and toggle the Store Status to Active.
When the store is activated, it becomes live and guests can start browsing and purchasing the products or services you have added.

Setting up your store across multiple listings doesn’t have to be time-consuming. With Store Cloning in WelcomeScreen, you can quickly duplicate your existing setup and reuse it wherever needed, saving effort while keeping everything consistent and organized.
Clone once - set up your store in seconds without starting from scratch.
You'll see a Clone option next to each store.

You'll also find a Clone option under Actions.

Note:
Store Setup Guide – Learn how to configure your store settings and get your store ready to add products.
Store Vendor Guide – Add vendors and link them to the products available in your store.
Manage Orders and Notifications Guide – Learn how to manage guest orders and receive notifications for store activity.
For additional assistance or questions, contact the WelcomeScreen support team at: support@welcomscreen.com

.png)
.png)
.png)


